Table of Contents
Problem Management Solution
 Updated
by Niamh Ferns
Updated
by Niamh Ferns
Problem Management Solution Demonstration
The Problem Management PowerPlay solution provides an out-of-the-box solution for tracking and actioning on problems within your or your client's environments that need to be addressed.
In the videos below, we provide a brief demonstration of what you can expect the solutions to look like after you've finished deployment and pre-deployment for the problem management solution.
Managing your Problem Categories & Services
Submitting a problem
What does it do?
The Problem Management solution provides two main things:
- The ability to define and configure a set of known problem areas or categories that long-standing service requests can fall under
- A service type that users can then submit to record issues in your problem management system.
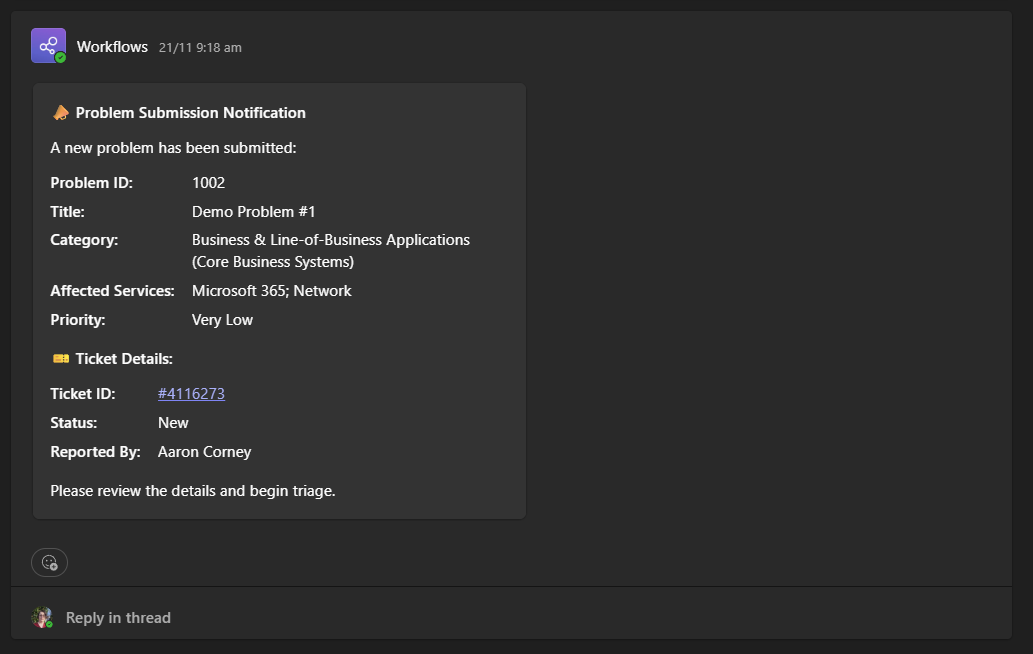
Users will be provided with an ID to track their specific issue. In addition, a thread will be added to a Teams channel for you to track and collaborate on problem resolutions:
Deployment
In this section, we'll cover how to go through the deployment process for the Problem Management Solution.
For the deployment to work, you will need to deploy the solution library, then deploy either the ALM or self-service solution.
Solution Library Deployment
- Open your Admin Portal and head to
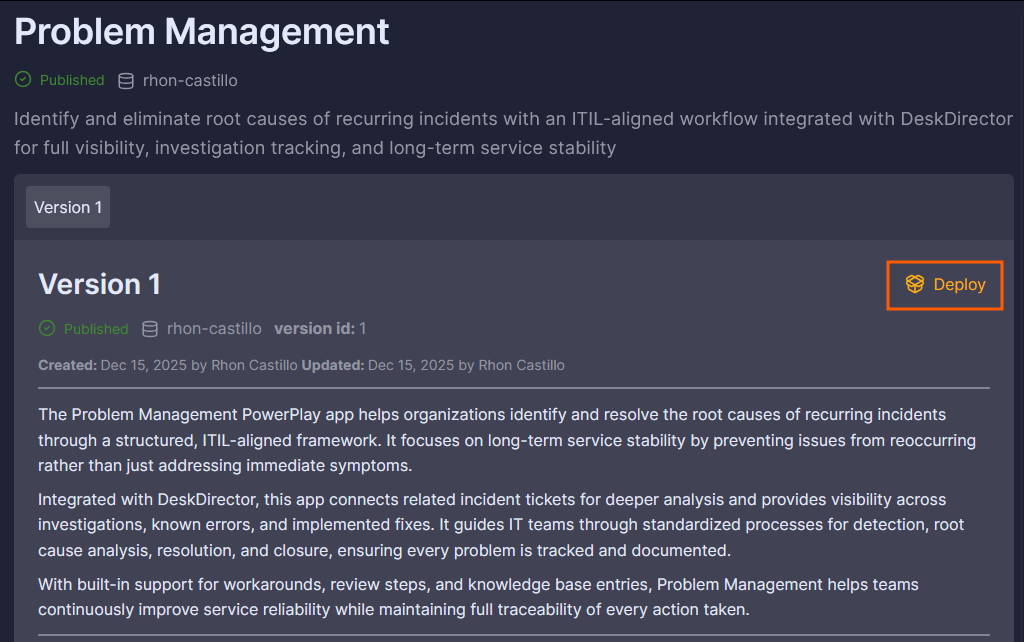
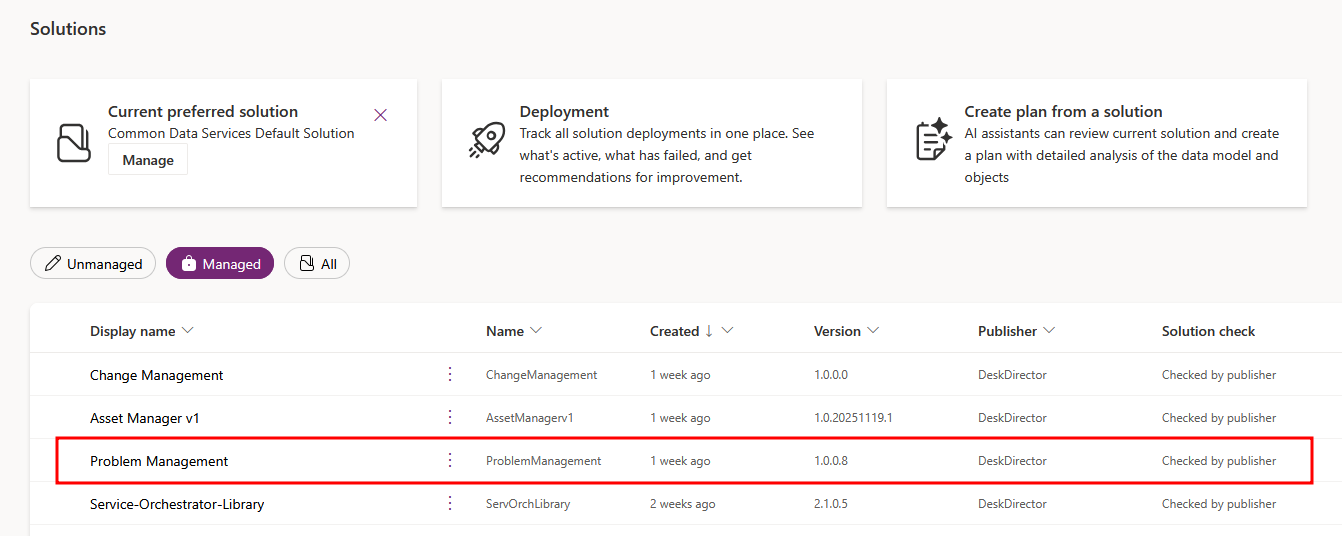
Integrations>Solution Library. - Select the Managed Solutions tab and open the Problem Management solution:

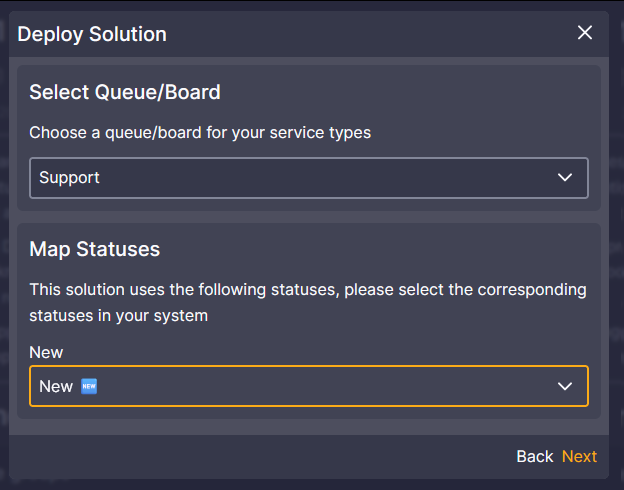
- Select the latest version available, and then click Deploy
 On this page, you can also see a version history as well as a list of features that will be deployed.
 - Follow the on-screen prompts to select a Queue/Board, Status, and Priority:
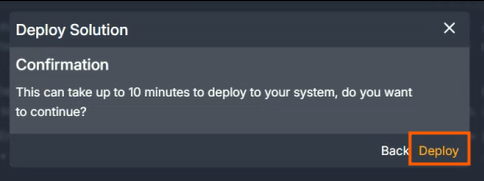
- Confirm by selecting Deploy. (This step can take some time to complete. Please do not close out of this page.)
- Confirm under
Client Portal>Service Catalogue>Service Typesto make sure your assets have deployed correctly: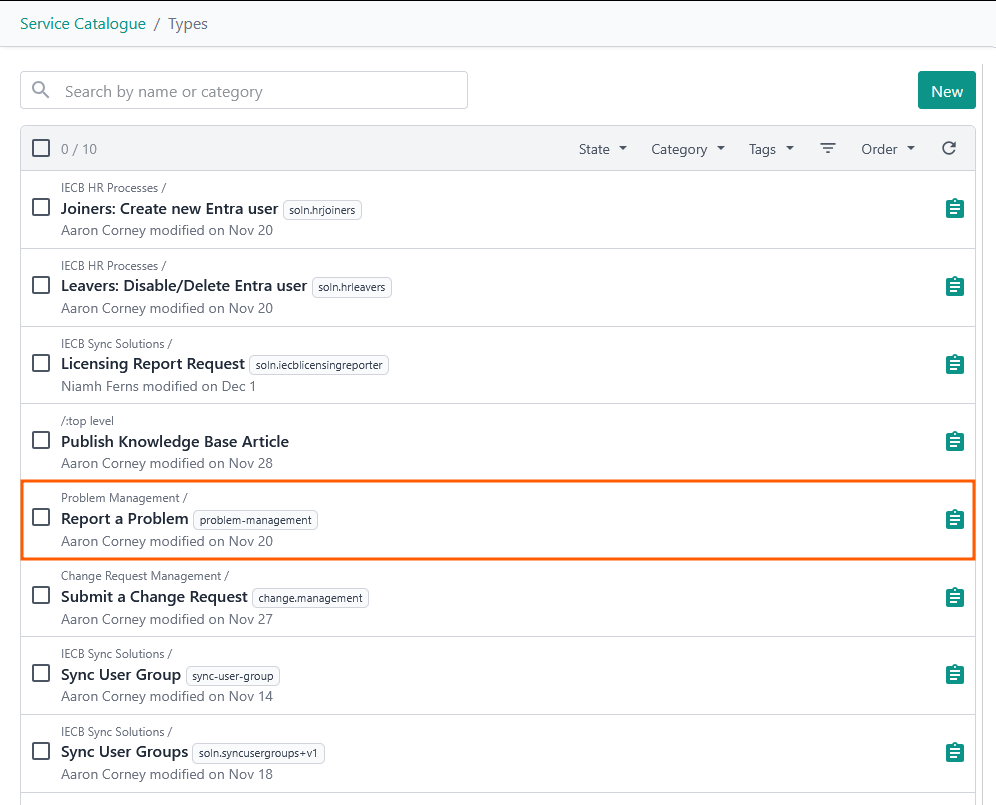
Solution Marketplace Deployment
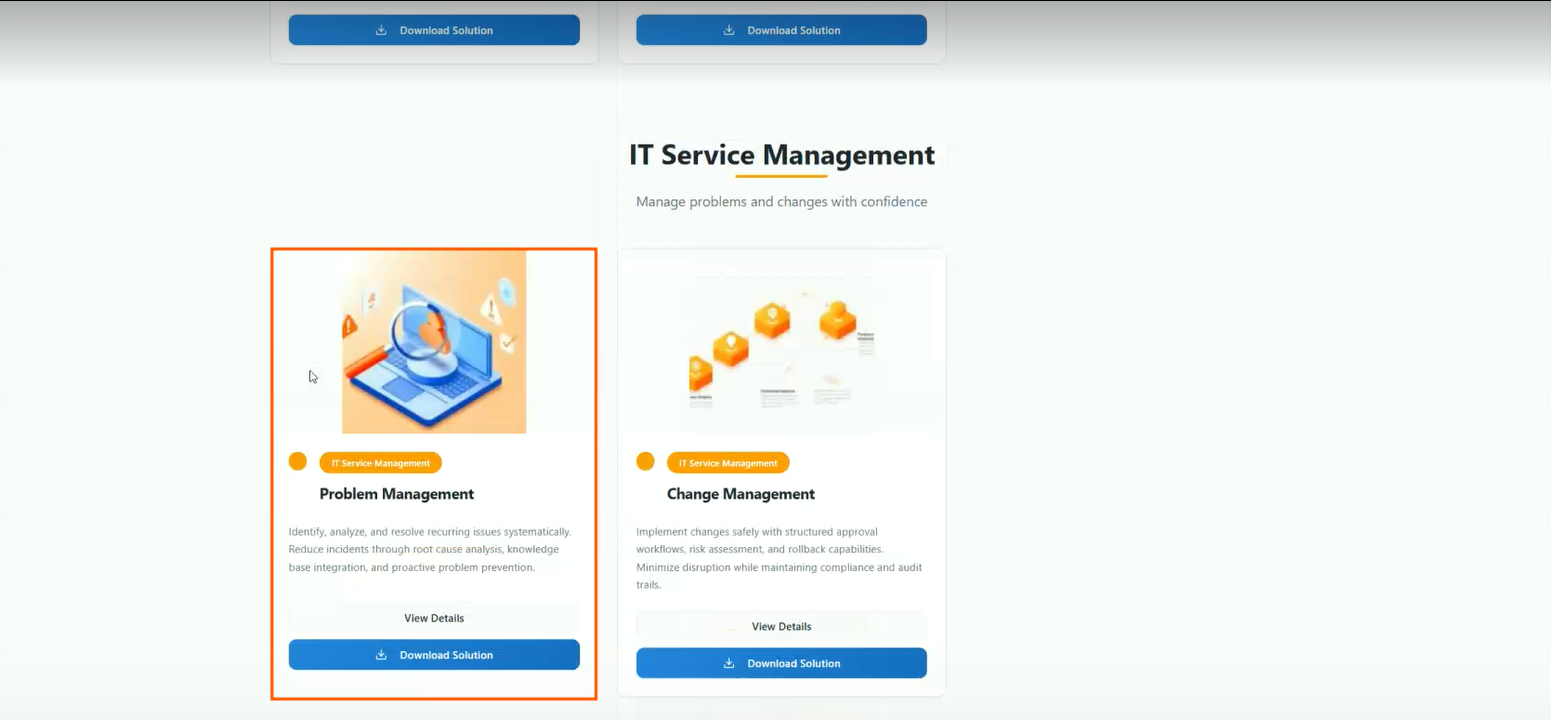
- Head to the PowerPlay Marketplace and select Download Solution for the Problem Management solution:
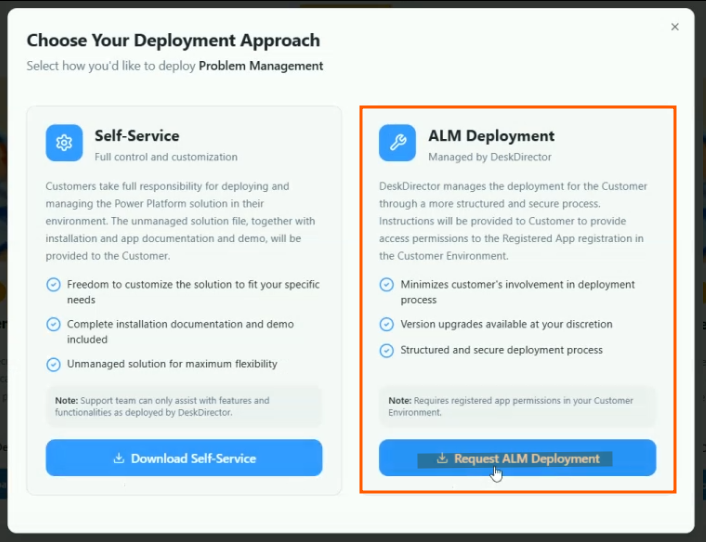
- Select Request ALM Deployment:
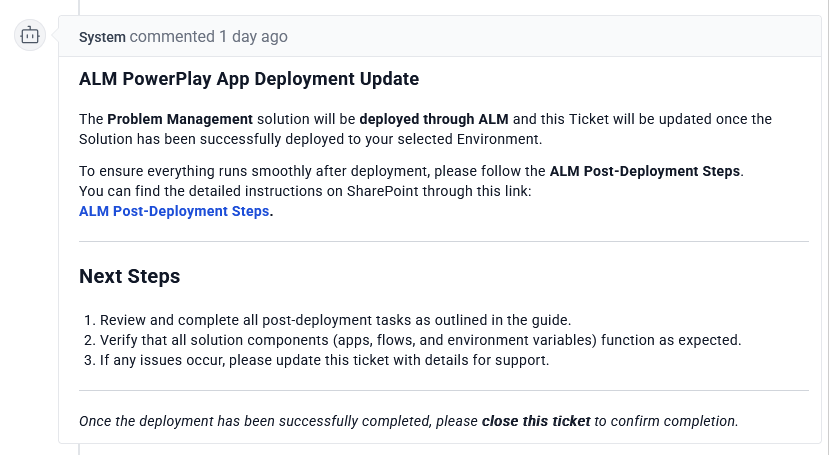
- Navigate to your open tickets on the DD4DD Support Portal, and you should see a ticket with a name similar to
PowerPlay App Deployment Request: Problem Management. - Open the ticket and scroll down to the automated system comment. You should see that it has started the deployment for you and pre presented with an update:
- Once the deployment is finished, you will see an update on the ticket advising you that everything is finished.
- To confirm, open Power Apps and navigate to the Solutions tab. Under managed, you should see a successful deployment for Problem Management under your ServOrg
Post-Deployment
Connection References
When you set your environment variables, please instead add a custom value and do not edit the default.
- Open the Default Solution under your ServOrg environment, and then open the Connection references tab under the Objects panel
- Search for PM, and it should bring up 4 connection references for you to set:If you are unsure what to set these to, please review our documentation on post-deployment steps for ServOrg connections, as these references will use the same connections mentioned there.
- PM - DeskDirector
- PM - DeskDirector Custom Connector
- PM - Microsoft Dataverse
- PM - Microsoft Teams
Environment Variables
- Open the Default Solution under your ServOrg environment and open the Environment variables tab under the Objects panel.
- Search for PM, and it should bring up 7 environment variables for you to set:
- PM - Admin Id: This will be an agent ID for a master admin in your DeskDirector instance. (See the video above if you're unsure how to get this.)
- PM - Change Management App: If using the change management solution, you can update this variable with the web link for your Change Management App.
- PM - Change Management Service Type ID: If using the change management solution, you can update this variable to point to the relevant change management service type in your DeskDirector instance.
- PM - DeskDirector Domain: This will be your DeskDirector instance hostname
- PM - MS Teams Channel ID: This will be an ID for a Teams Channel to use for problem management. (You will need to set up this channel manually. Example included in the video above.)
- PM - MS Team ID: This will be an ID for a Teams Team to use for problem management. (You will need to set up this team manually. Example included in the video above.)
- PM - Problem Management Service Type ID: This will be the ID of the report a problem service type in your DeskDirector instance. (See video above if you're unsure where to find this.)
Enable Flows
- Navigate to your Managed Solutions under your ServOrg and open the Problem Management Solution, then open the Cloud flows tab in the Objects panel
- Turn on the [Setup] PM - Queues and Statuses in DD (Child) flow and perform a manual run of this flow
- Turn on the remaining flows in this order:
- Enable all the child flowsThese will be marked as
PM - flow name (Child). - Enable all the remaining flows
- Enable all the child flows
Assigning Security Role
- Within your Power Platform Admin Center, navigate to the ServOrg environment and open the Users list
- Select the user you want to assign this role to and select
⁝ (More Options)>Manage security roles - Select the Problem Management Administrator role and click Save
- Finally, navigate back to your Managed Solutions in your ServOrg and open the Problem Management Solution, then open the Apps tab in the object Panel. From here, you can share the Problem Management Portal app with the users that you granted access to.