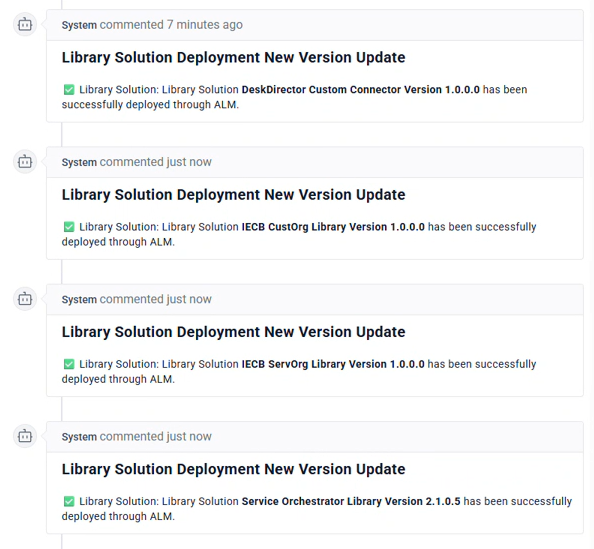
Before proceeding, our I want to provision a Tokity PowerPlay Environment... form on the DeskDirector Support Portal should have been updated to show that the following solutions were deployed:
DeskDirector Custom Connector
IECB CustOrg Library
IECB ServOrg Library
Service Orchestrator Library
ServOrg Connectors
Log in to Power Apps as your Onboarding Administrator
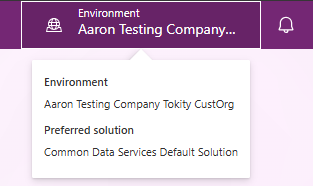
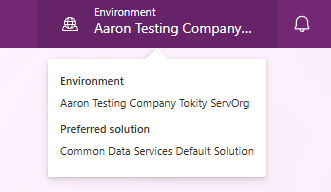
From the top right corner, select your ServOrg environment:
From the left-hand menu, select the Connections menu
If this is not available, select ...More from the left-hand menu and pin the Connections menu
Select Create Connection and proceed with configuring the following:
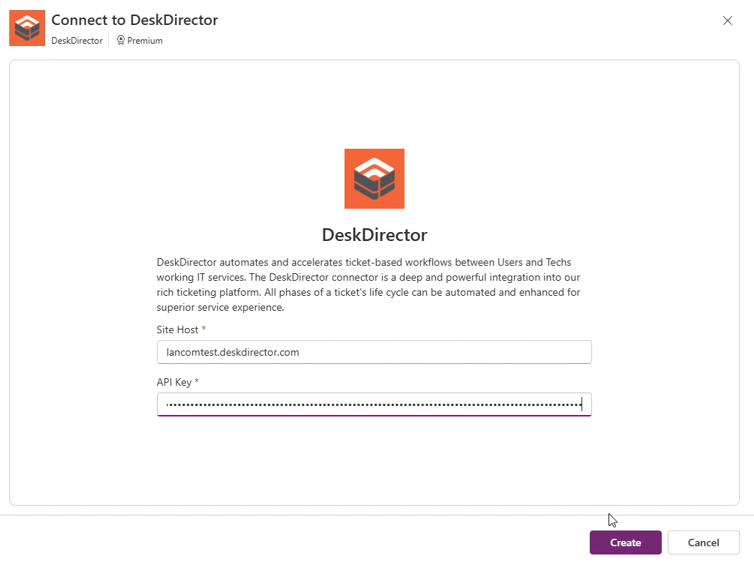
DeskDirector:Site Host:<your sub domain>.deskdirector.com API Key:Advanced > Developer Corner > API Key
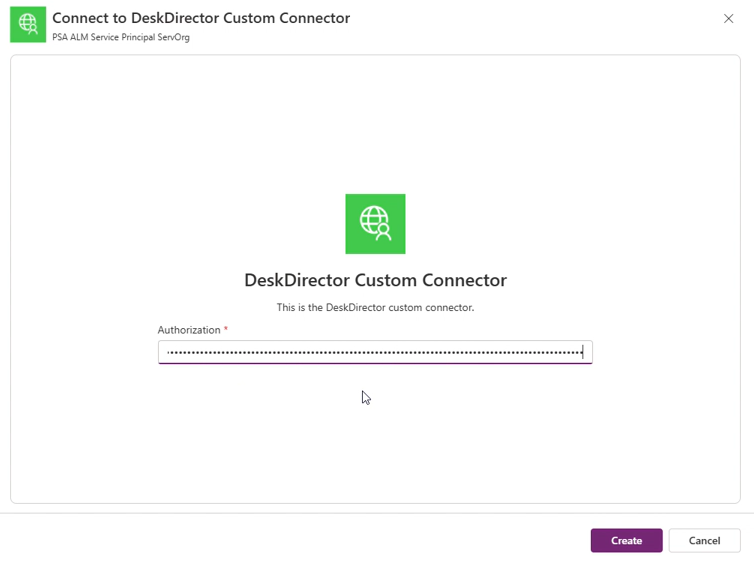
DeskDirector Custom Connector:Authorisation: Your API Key prefaced with DdApi(i.e.DdApi YourApiKeyHere)
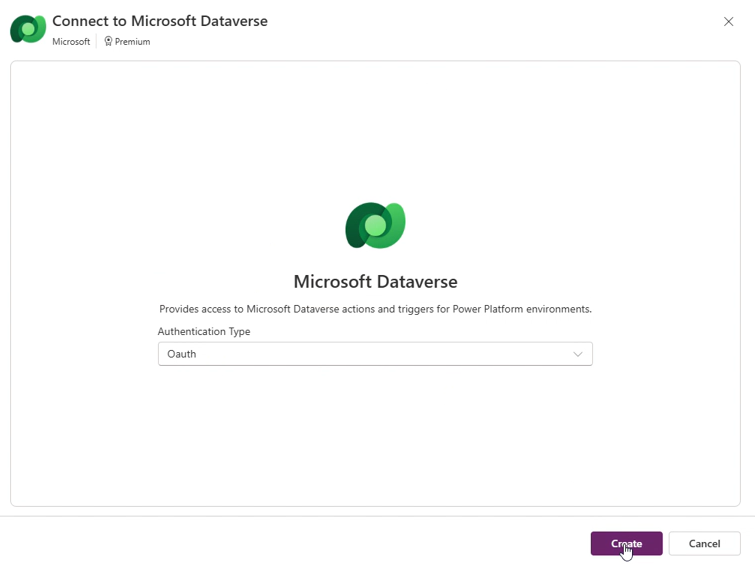
Microsoft Dataverse:Authenticate with Oauth, using the Onboarding Administrator account, then Allow Access when prompted:
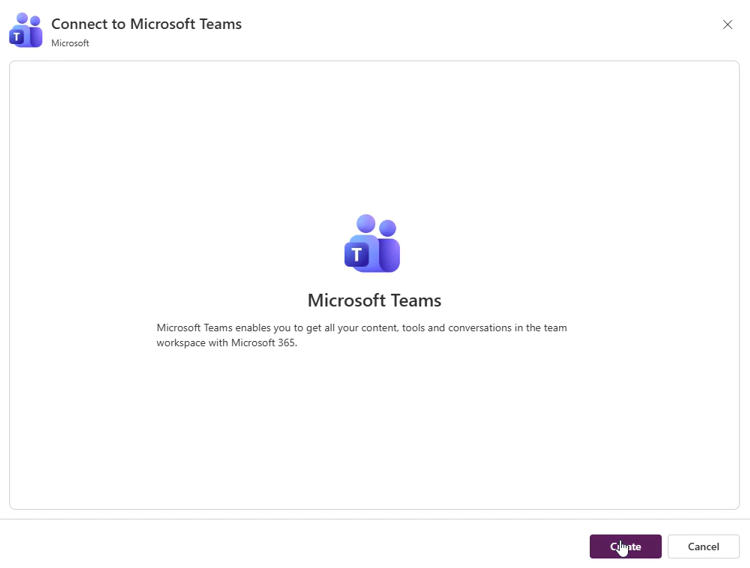
Microsoft Teams:Sign in using the Onboarding Administrator account, then Allow Access when prompted:
Office 365 Outlook:Sign in using the Onboarding Administrator account, then Allow Access when prompted:
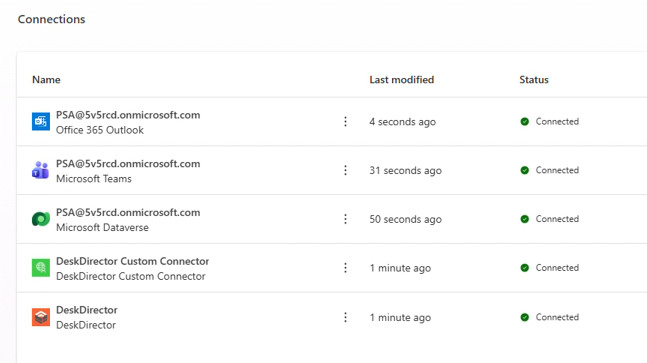
With the above steps complete, validate everything is correct. The required Connections should now display in a Connected status:
ServOrg Connection References
Log in to Power Apps as your Onboarding Administrator
From the top right corner, select your ServOrg environment
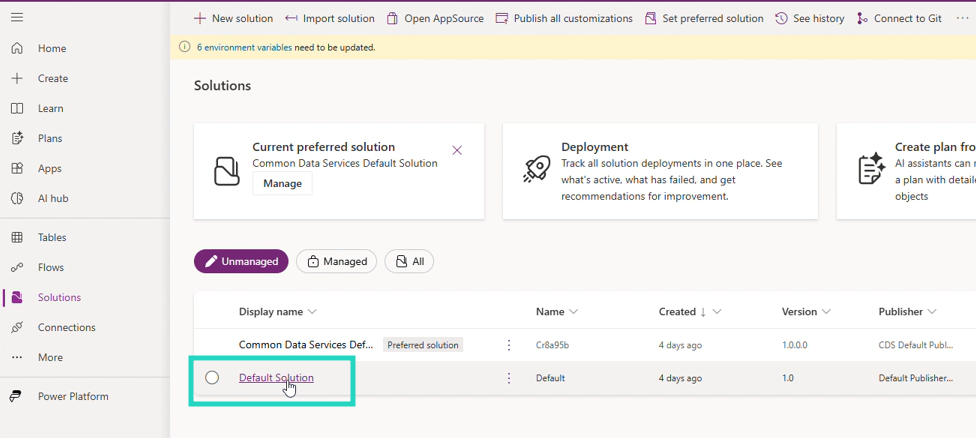
From the Solutions menu, select Unmanaged > Default Solution:
Select the Connection References menu
For each DeskDirector solution Connection Reference:
Select the Connection Reference
Select the Connection drop-down
Select the relevant Connection created in the previous step
Select Save and Save Changes
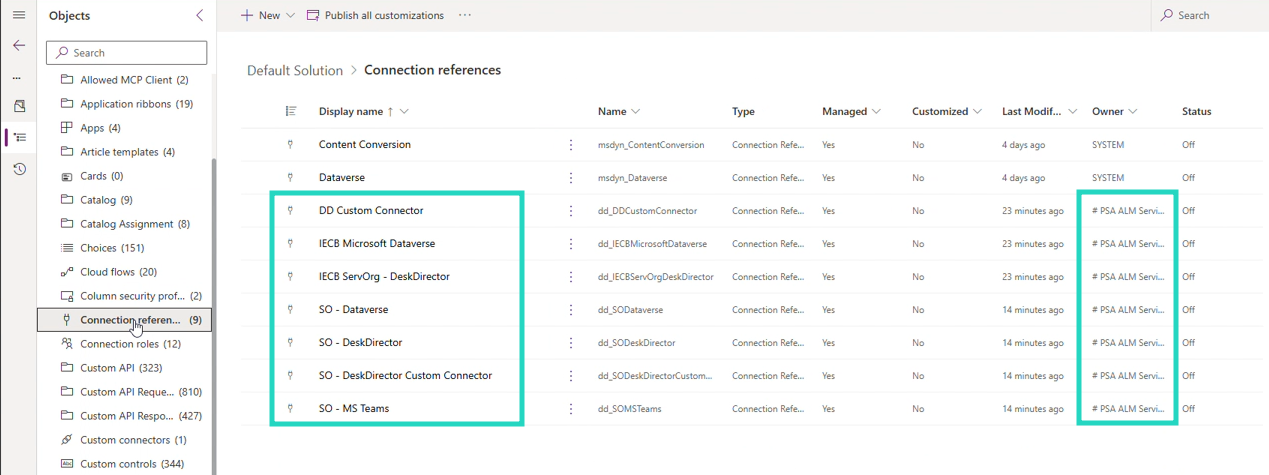
ServOrg Connection Reference List:
DD Custom Connector
IECB Microsoft Dataverse
IECB ServOrg - DeskDirector
SO - Dataverse
SO - DeskDirector
SO - DeskDirector Custom Connector
SO - MS Teams
CustOrg Connectors
Log in to Power Apps as your Onboarding Administrator
From the top right corner, select your CustOrg environment:
From the left-hand menu, select the Connections menu
Select Create Connection and proceed with configuring the following
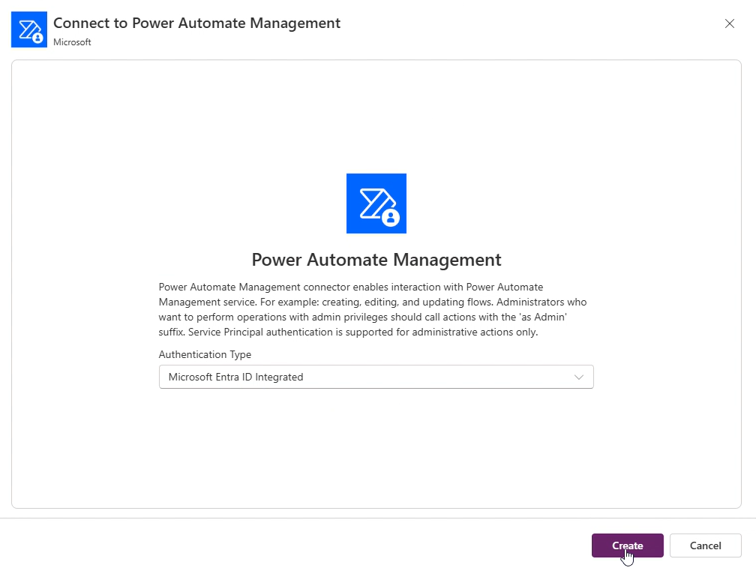
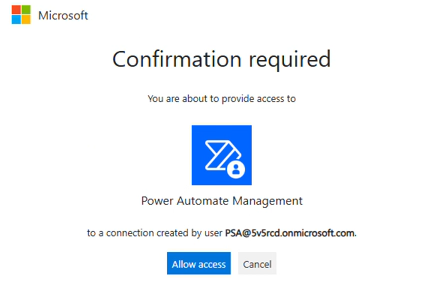
Power Automate Management:Sign in using the Onboarding Administrator account, then Allow Access when prompted
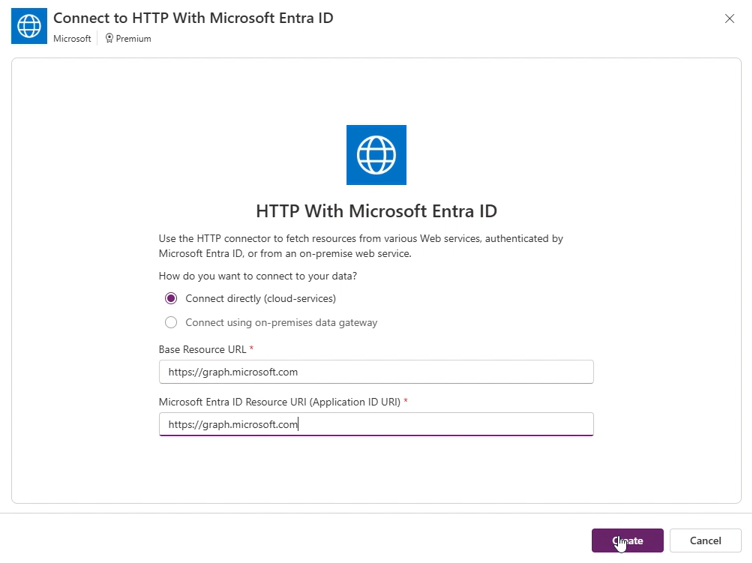
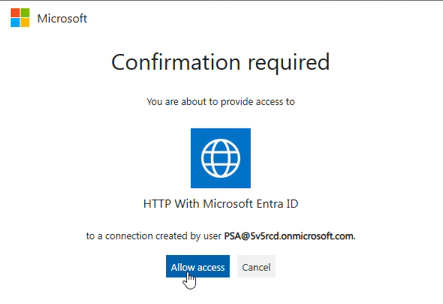
HTTP with Microsoft Entra IDSelect Connect directly (cloud-services), then use https://graph.microsoft.com for both the Base Resource and Microsoft Entra ID Resource URLs, then Allow Access when prompted
Microsoft DataverseAuthenticate via Oauth using the Onboarding Administrator account, then Allow Access when prompted
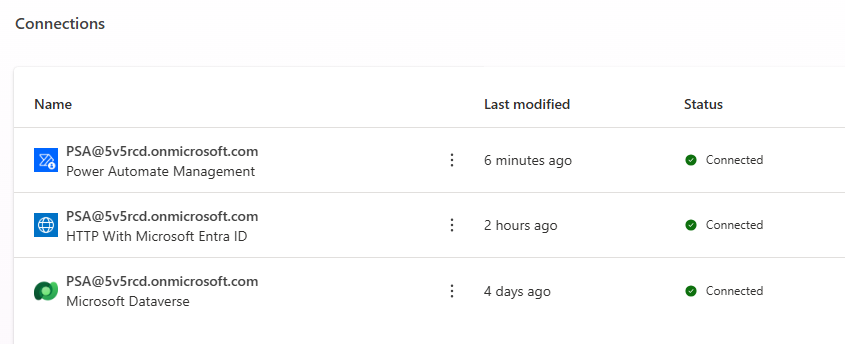
With the above steps complete, validate your connections. The required connections should now display in a Connected status:
CustOrg Connection References
Log in to Power Apps as your Onboarding Administrator
From the top right corner, select your CustOrg environment
From the Solutions menu, select Unmanaged > Default Solution:
Select the Connection References menu
For each DeskDirector solution Connection Reference:
Select the Connection Reference
Select the Connection drop-down
Select the relevant Connection created in the previous step
Select Save and Save Changes
CustOrg Connection Reference List:
IECB HTTP with Microsoft Entra ID
IECB Microsoft Dataverse
IECB Power Automate Management
Environment Variables
Estimated Time: 10 Minutes
ServOrg Variables
Log in to Power Apps as your Onboarding Administrator
From the top right corner, select your ServOrg environment
From the Solutions menu, select Unmanaged > Default Solution
Select Environment variables from the Objects panel
For each variable, it is important to add a New Value instead of updating the Default Value
Update the following environment variables:
Custom Connector - Domain: Your DeskDirector host: <your subdomain>.deskdirector.com
IECB ServOrg DD Host URL: Your DeskDirector host: <your subdomain>.deskdirector.com
SO - Domain: Your DeskDirector host: <your subdomain>.deskdirector.com
IECB ServOrg Admin Id: An id for an agent in your DeskDirector instance with Master Admin permissions
SO - Member ID: An id for an agent in your DeskDirector instance with Master Admin permissions
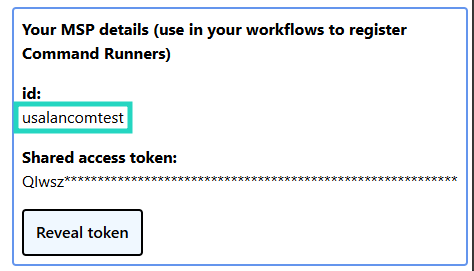
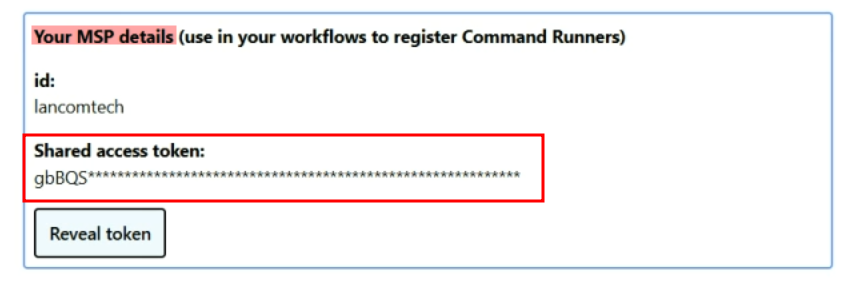
IECB ServOrg Id: The id for Your MSP Details from the Command Broker Manager
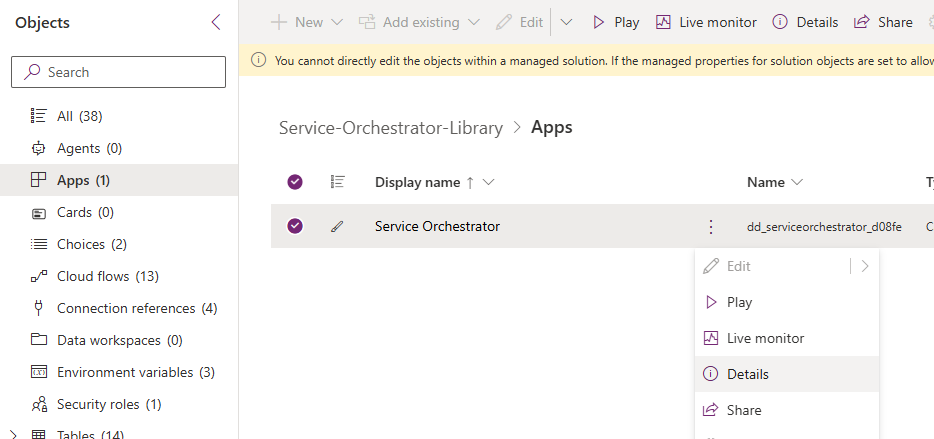
SO - App URL: The Web link for: Managed > Service-Orchestrator-Library > Apps >Service Orchestrator
CustOrg Variables
Log in to Power Apps as your Onboarding Administrator
From the top right corner, select your CustOrg environment
From the Solutions menu, select Unmanaged > Default Solution
Select Environment variables from the Objects panel
For each variable, it is important to add a New Value instead of updating the Default Value
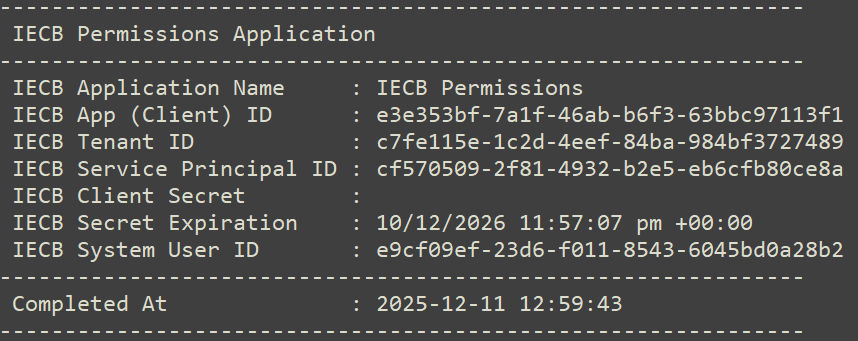
Most of the following variables are available from the IECB Permissions Application output of one of the two ProvisionSummary .txt files
Update the following environment variables:
IECB Client ID: The IECB App (Client) ID output within your ProvisionSummary file
IECB Client Secret: The IECB Client Secret output within your ProvisionSummary file
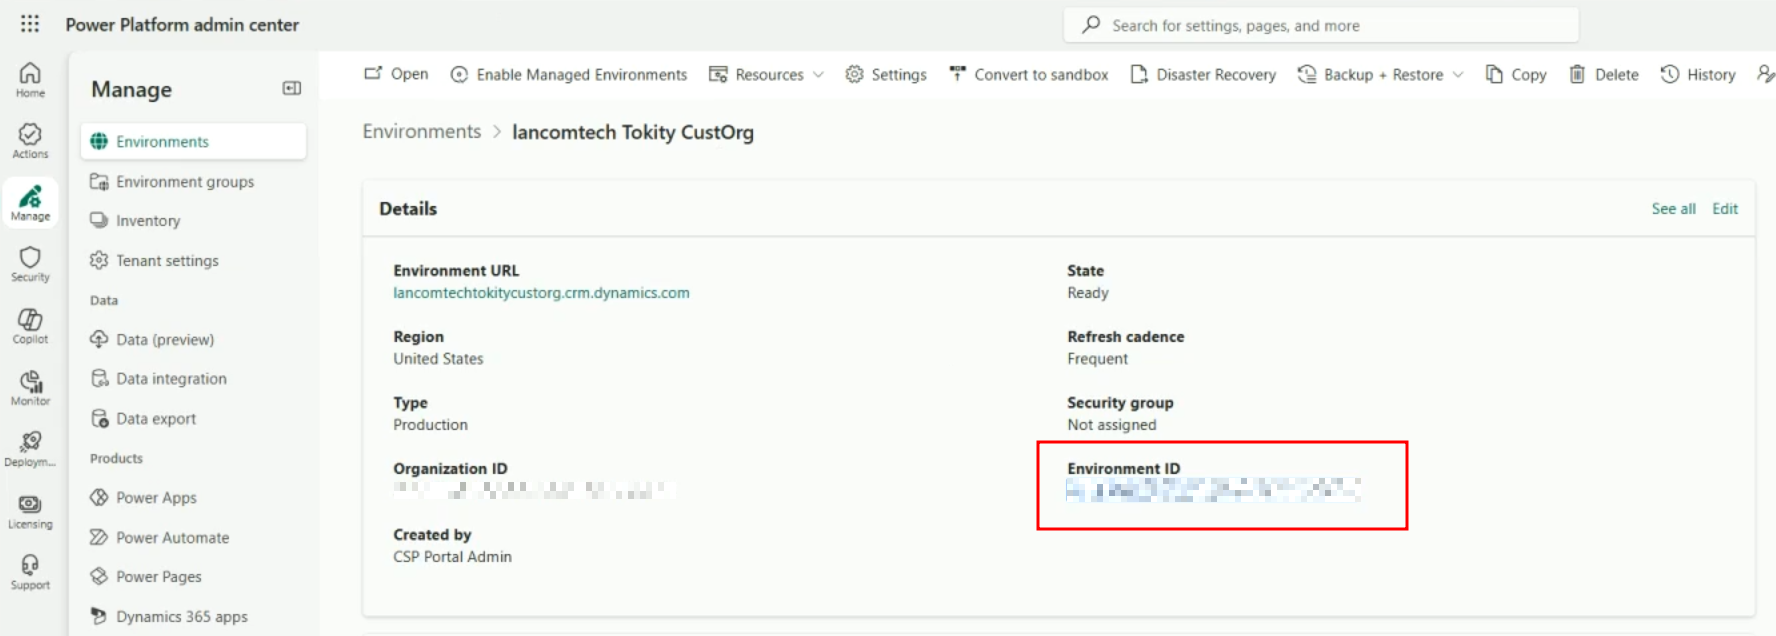
IECB CustOrg Environment ID: This can be found in the Power Platform Admin Center under your CustOrg Environment.
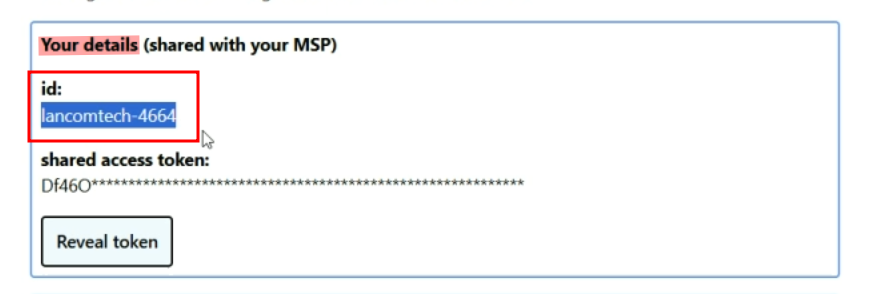
IECB CustOrg ID:id for Your details from the Command Broker Manager
IECB ServOrgAccessToken:Shared Access Token value from Your MSP details in the Command Broker Manager
IECB Tenant ID: The Tenant ID output within your ProvisionSummary file
Flows
Estimated Time: <5 Minutes
ServOrg Flows
Primary
Log in to Power Apps as your Onboarding Administrator
From the top right corner, select your ServOrg environment
Navigate to your ServOrgs ManagedSolutions and open the Service-Orchestrator-Library
Under Cloud flows in the Objects panel, enable all 13 Flows in the following order:
You must enable the Child flows first! If you do not enable child Flows first, things will likely not work.
SO - Attach Form to Ticket (Child)
SO - Cancel Request (Child)
SO - Create Ticket Fan-out (Child)
SO - Create/update task template (Child)
SO - Get Current User Details (Child)
SO - Get DeskDirector Data (Child)
SO - Import Task Templates (Child)
SO - Update ticket status (DeskDirector)
[Power Apps] SO - Configuration
[Power Apps] SO - Get Environment Variables Values
[Power Apps] SO - Run a child flow
[Power Apps] SO - Set Up Playbooks
[Scheduled] SO - Get DeskDirector Data
ServOrg IECB
Navigate to your ServOrg's ManagedSolutions and open the IECB ServOrg Library, and then open the Cloud flows tab under the Object panel
Enable the [Manual] Get CustOrg Token Flow
Enable the remaining 3 flows :
[HttpReq] IECB ServOrg Command Broker ServOrg
[Manual] Get CustOrg Entra ID Generated Permissions
[Scheduled] Get CustOrg Access Token
ServOrg - Service Orchestrator
While not explicitly required, we recommend setting up your Service Orchestrator app while going through these post deployment steps. You can read more on how to deploy the Service Orchestrator in this article.
Note, for users who are following along with the Quick Start guide and are deploying the Sync Entra Groups solution, you can safely skip this step for now and come back to this at a later date!
CustOrg Flows
Navigate to your CustOrgs ManagedSolutions and open the IECB CustOrg Library solution
Under Cloud flows in the Objects panel, enable the [Scheduled] Enumerate Command Offers flow
You can then enable the following 3 Flows:
Check Command Runners Info
Retire Command Runners
Supply Command Runners v3
Enable all remaining IECB CustOrg Library flows
Next Steps
Now that you've finished deploying your Service Provider and Customer environments, you can dive into some of the solutions that we have on offer to pair with these. We've prepared a series of articles under the PowerPlay Solution Library for you to learn more about these and then follow along on the ones you wish to install.
"Why am I unable to turn on Flows when I get to that stage in the guide?"
This is usually related to the order in which you turn them on. Please turn Flows on only in the order shown in this article. This will ensure that child Flows are all enabled before their parents, which will resolve most of these issues.
If you are following the correct order in this article and are still unable to get them to enable, please reach out to DeskDirector's support team.
 Updated
by Niamh Ferns
Updated
by Niamh Ferns
 If this is not available, select