Table of Contents
Asset Manager Solution
 Updated
by Niamh Ferns
Updated
by Niamh Ferns
Asset Management Demonstration
The Asset Management PowerPlay solution provides an out-of-the-box solution for asset management and tracking for your organisation.
Below, you'll find a demonstration of the Asset Manager Solution in action:
What does it do?
With the Asset Management Solution, you can easily track your:
- Hardware
- Licenses
- Warranties
- Network Locations & Domains
- Hardware Assignments
- Product Orders & Asset Purchases
Deployment
In this section, we'll cover how to go through the deployment process for the Asset Management Solution.
For the deployment to work, you will need to deploy the solution library, then deploy either the ALM or self-service solution.
Solution Library Deployment
Integrations > Solution Library first before deploying via the DeskDirector Support Portal.- Open the DeskDirector support portal and submit a new ticket request under
Solution Library>Deploy a Service Solution - Select the Asset Management solution and a version from the dynamic lists, then add your Subdomain and an access token for your instance
- Select Submit
- You should now have a ticket where you can track the deployment status of your Asset Management solution. Review here for updates and continue once your deployment to your DeskDirector instance has finished.It is a good idea at this stage to check that the reported forms, service types, etc, have all been created in your instance as well before continuing.
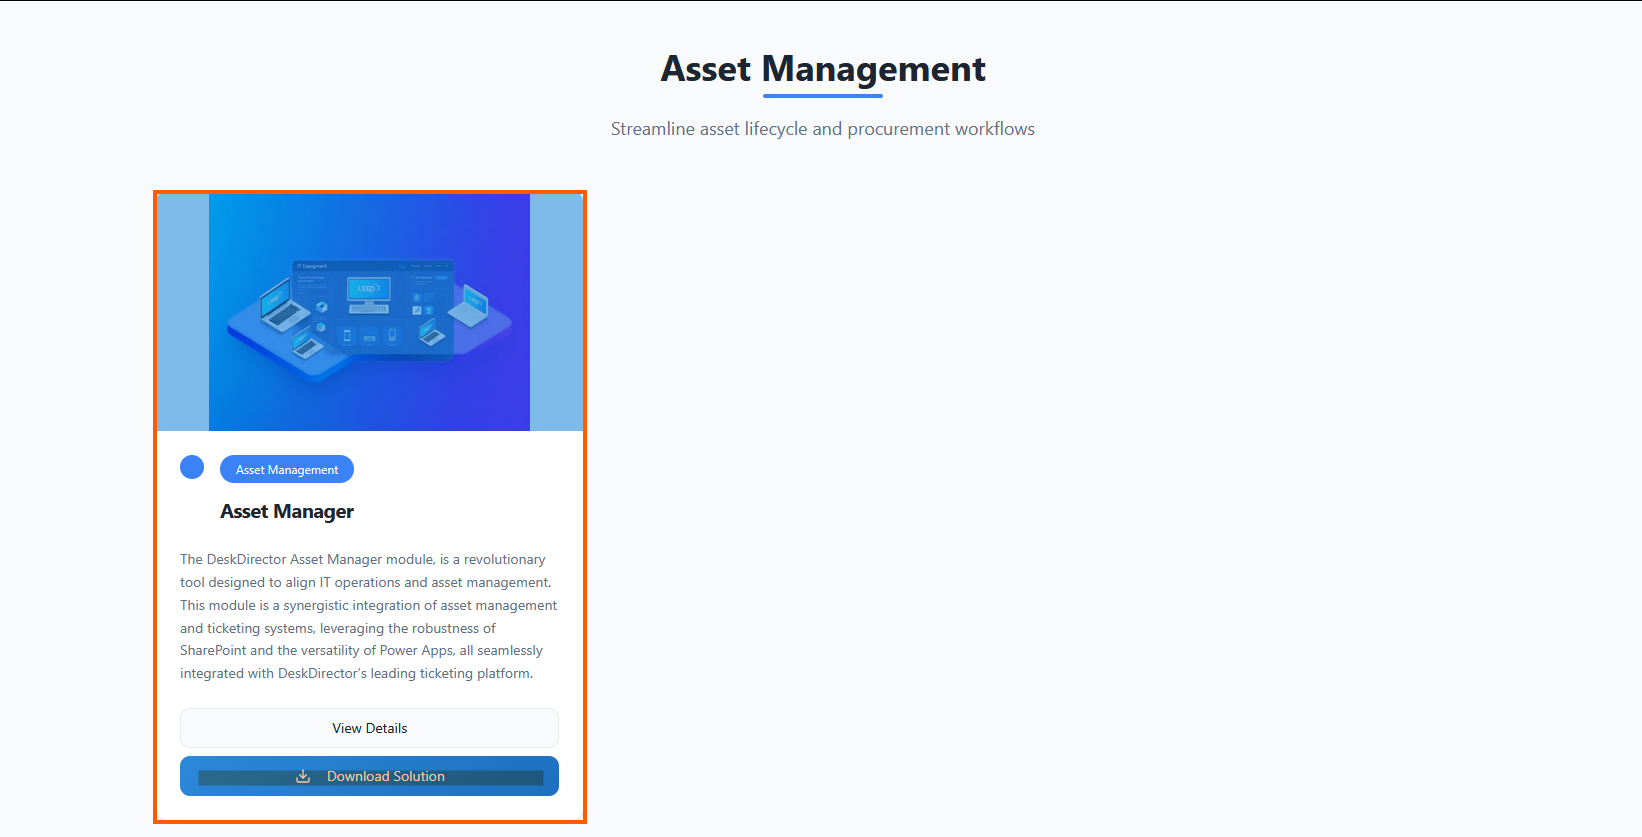
Solution Marketplace Deployment
- Head to the PowerPlay Marketplace and select Download Solution for the Asset Manager solution:
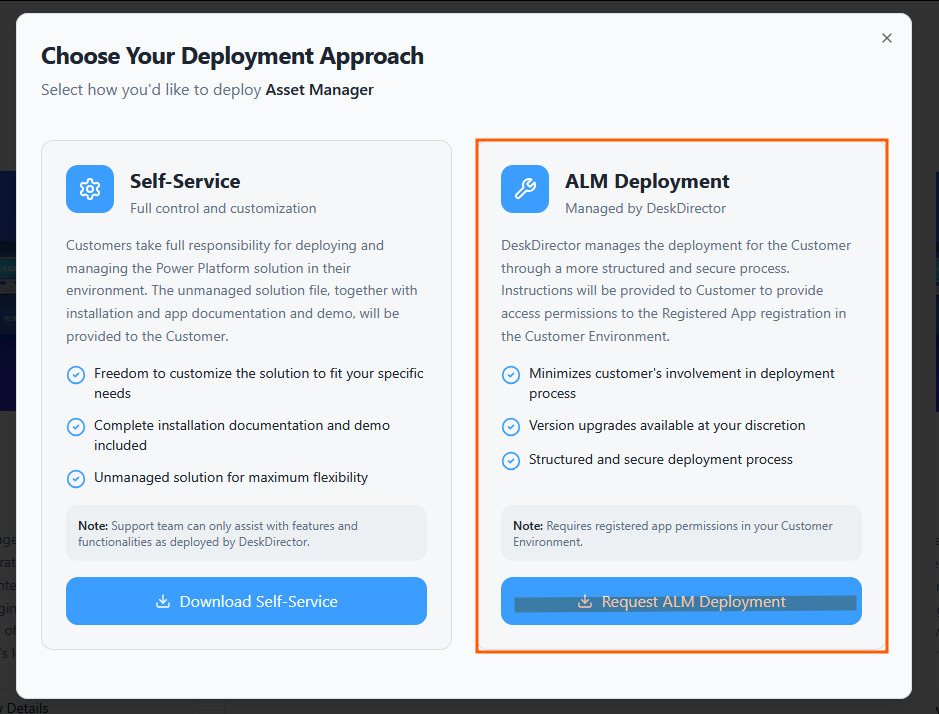
- Select Request ALM Deployment:
- Navigate to your open tickets on the DD4DD Support Portal, and you should see a ticket with a name similar to
PowerPlay App Deployment Request: Asset Manager: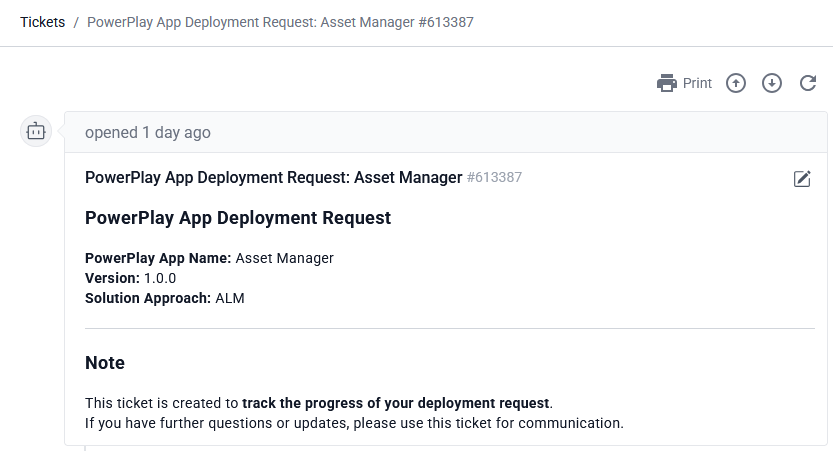
- Open the ticket and scroll down to the automated system comment. You should see that it has started the deployment for you:
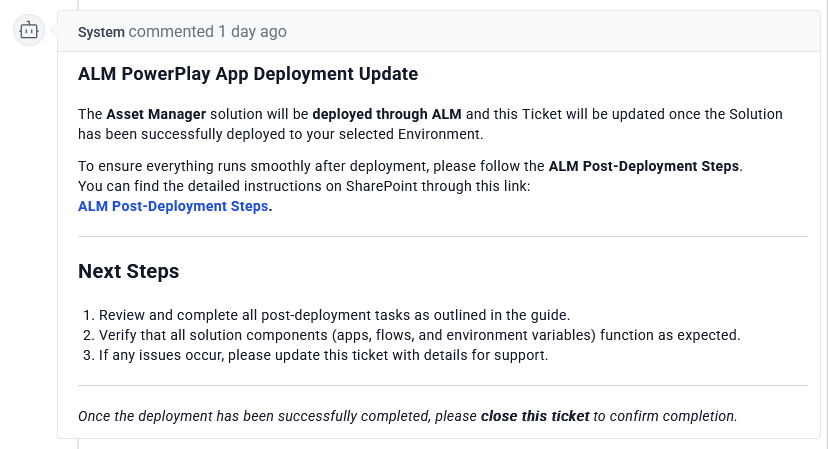
- Once the deployment is finished, you will see that a successful deployment has been reported on your ticket
- To confirm, open Power Apps and navigate to the Solutions tab. Under managed, you should see a successful deployment for Asset Manager:

Post-deployment
Connection References
- Under your ServOrg environment, navigate to the Asset Management Managed Solution and open the Connection references tab in the Objects panel
- Search for
Assetand then update the following connection references:These will all reference the connections you configured in your ServOrg post-deployment. For those who don't have an existing connection reference from the ServOrg post-deployment, you can create new ones using your service account.- Asset Manager - Microsoft Dataverse
- Asset Manager - Microsoft Teams
- Asset Manager - SharePoint
- Asset Manager - Excel Online (Business)
SharePoint Site Creation
- On the ticket, you will have been provided with documentation on how to conduct the post-deployment as well as a series of documents. Download these to somewhere on your machine that they can be easily accessed, then continue to the next steps.
- Navigate to your Active Sites in SharePoint under your tenant
- Click Create and Select a Team site, then use the standard template and fill out the Site's information:
- Name:
Asset Management - Group email address:
AssetManagement - Group owner: Admin for your tenant
- Privacy settings:
Private - only members can access this site
- Name:
- Add any members that should have access, and create the site as well as your service account
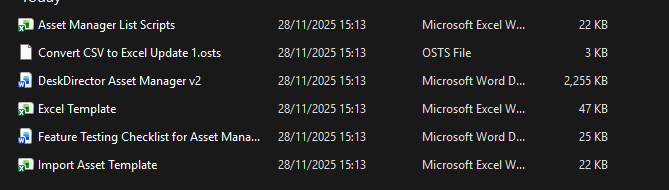
- In your SharePoint site's Documents tab, import all the documents you downloaded earlier
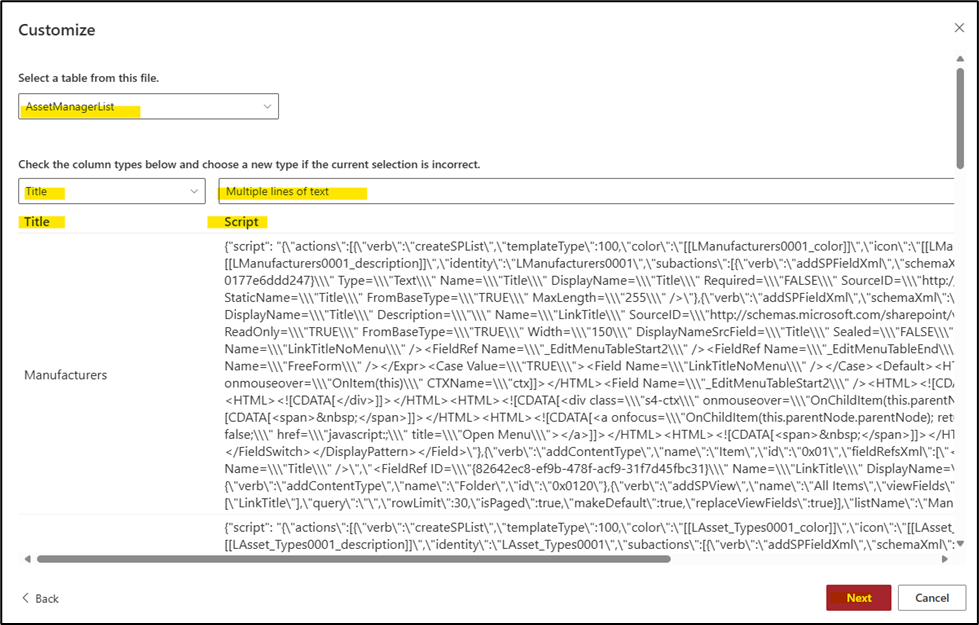
- Within your SharePoint site, create a new List and select Excel under the Import from section, and then select the Asset Manager List Scripts.xlsx document
- Ensure that you have the Title and Script columns available, then click next:
- After importing this, you should see various lists populate your SharePoint site. You will need to make some changes to these:
- Under the Assets list, set the default value for the Archive column to
Active - Under the Assets list, add an additional column source for the ParentAsset column, and set it to Parent Asset Tag ID
- Under the Asset Manager Default Values list, create two rows with the titles
Company LabelandAsset Tag Prefix Value. (See the video above if you are unsure what these refer to.)
- Under the Assets list, set the default value for the Archive column to
With this done, you can now move on to setting up your connection references and environment variables.
Environment Variables
When you set your environment variables, please instead add a custom value and do not edit the default.
- Navigate back to your ServOrg's Default Solution and open the Environment variables tab in the Object panel, and then set the following variables:
- Asset Manager - SharePoint Site
- Asset Manager - Asset Manager List Scripts
- Under the Cloud flows tab, enable and then run the Asset Manager - Create SharePoint Lists flow.You will be warned that environment variables will be invalidated. Agree to this, then continue.
- Now, again under the Environment variables tab in the Objects panel, update the following variables:If you are unsure what these variables should be set to, please reference the video above.
- Asset Manager - Admin Email
- Asset Manager - Asset Bulk Import Records
- Asset Manager - Asset Manager Default Values
- Asset Manager - Asset Notes and Documents
- Asset Manager - Asset Types
- Asset Manager - Types
- Asset Manager - Documents
- Asset Manager - Domain
- Asset Manager - Location
- Asset Manager - Manufacturers
- Asset Manager - Models
- Asset Manager - Network Device
- Asset Manager - Parent Asset
- Asset Manager - Purchase Orders
- Asset Manager - Subscription
- Asset Manager - Tags
- Asset Manager - Warranty
Cloud Flows
We are now going to go through and enable the required flows for the Asset Management solution.
- Back in your ServOrg's Default Solution, under the Cloud flows tab in the Objects panel, enable and then run the Asset Manager - Save SP Document Library ID as Environment Variable flowThis will populate the final environment variable that we didn't set in the last section!
- Once that has been successful, navigate to your Asset Manager Managed Solution in your ServOrg and then enable the following flows in order:
- Asset Manager - Bulk Import Existing Assets Using Excel Template V2
- Asset Manager - Create Asset Import Template
- Asset Manager - Create CSV Report
- Asset Manager - Get Filtered Counts of Asset List (HTTP)
- Asset Manager - Get Total Count of Asset List (HTTP)
Sharing the App
- Log in to the Power Platform Admin Center and load it into your ServOrg environment, and open the Users modal
- For each account you want to add this role to:
- Search for the account
- For the relevant account in the list, click
⁝ (More Options)>Manage security roles - Apply the relevant Admin or User role depending on which access level the user should have in the app.
- Click Save
- Navigate back to your Managed Solutions in your ServOrg and open the Asset Management Solution, then open the Apps tab in the object Panel. From here, you can share the Asset Management app with the users who will need access
- Under the Details tab, copy the app's weblink and then play the Asset Management app