Table of Contents
Change Management Solution
 Updated
by Niamh Ferns
Updated
by Niamh Ferns
Introduction
The Change Management PowerPlay solution provides an out-of-the-box solution for managing your control within your organisation.
Below, you'll find a demonstration of the Asset Manager Solution in action:
[LOOM NEEDED]
What does it do?
When you run into issues that require your team go through standard change control, whatever the priority, your engineers can then submit a form through the DeskDirector Client Portal.
This will log a formal change control request for your CAB (Change Approval Board) to review and accept or decline.
Deployment
In this section, we'll cover how to go through the deployment process for the Problem Management Solution.
For the deployment to work, you will need to deploy the solution library, then deploy either the ALM or self-service solution.
Solution Library Deployment
- Open your Admin Portal and head to
Integrations>Solution Library. - Select the Managed Solutions tab and open the Change Management solution:
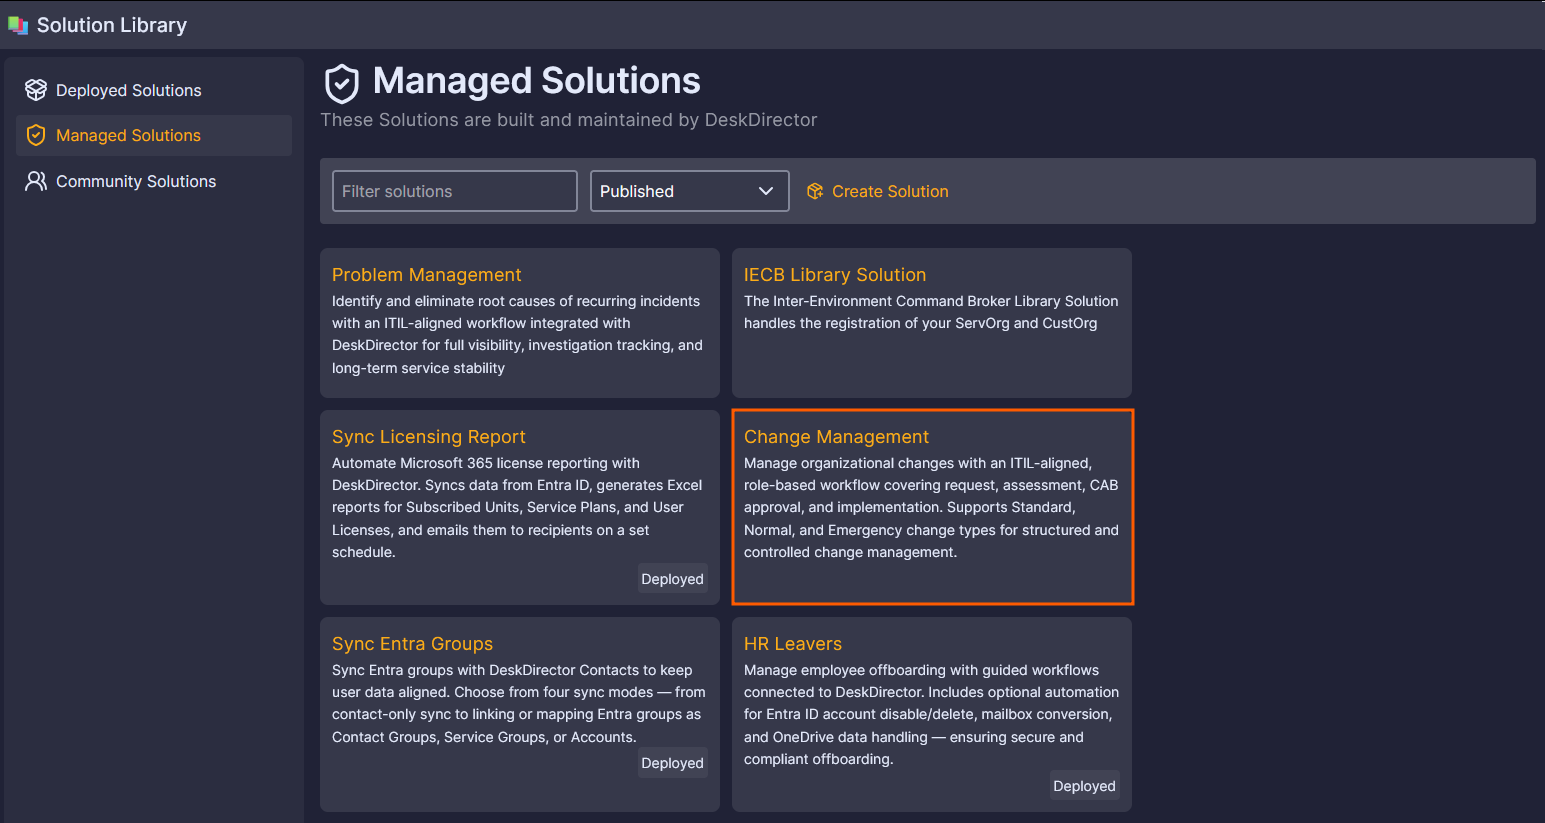
- Select Deploy:
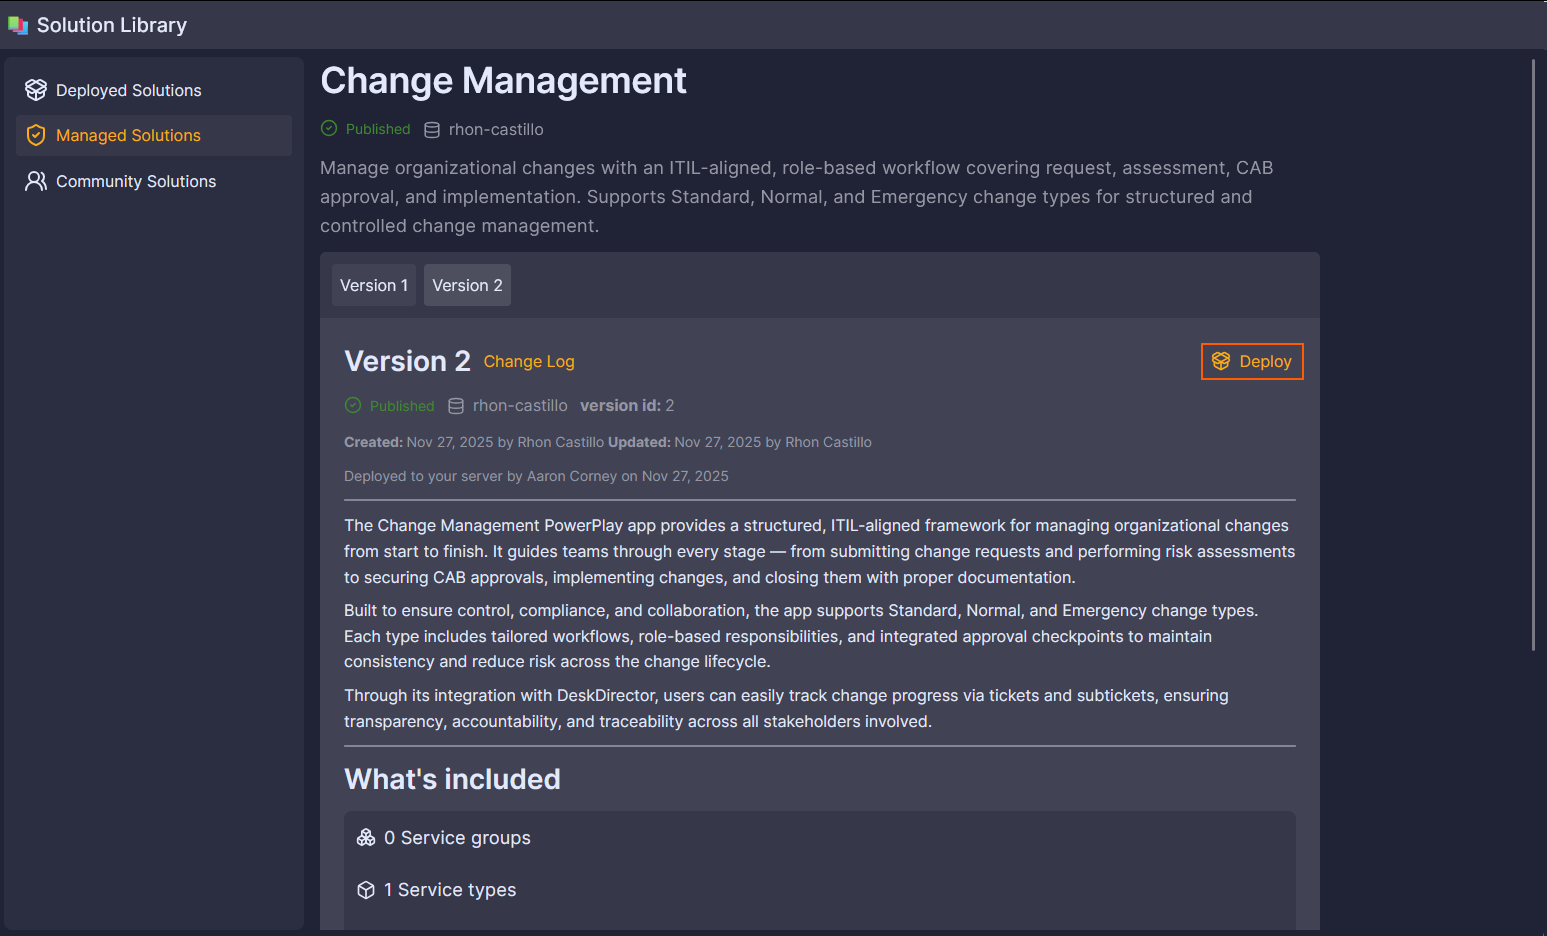 On this page, you can also see a version history as well as a list of features that will be deployed.
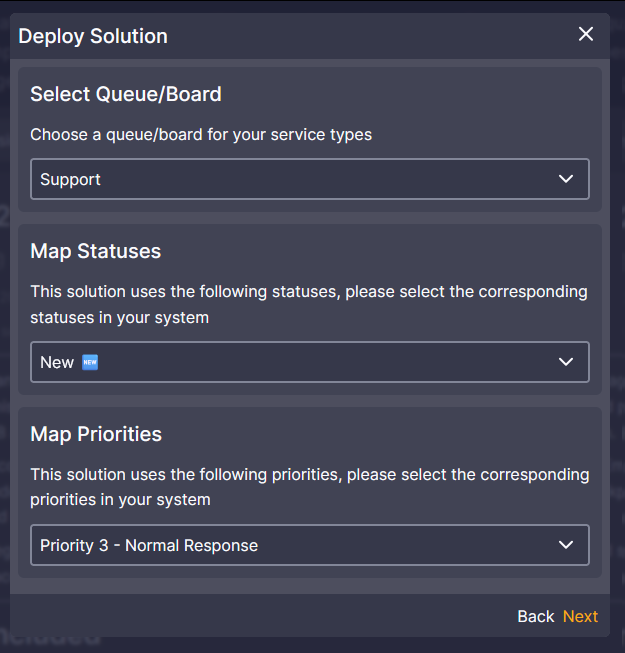
 - Follow the on-screen prompts to select a Queue/Board, Status, and Priority:
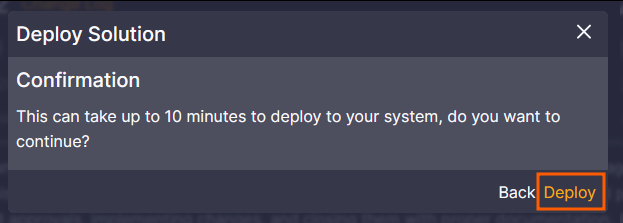
- Confirm by selecting Deploy. (This step can take some time to complete. Please do not close out of this page.)
- Confirm under
Advanced>Events,Client Portal>Service Types, andClient Portal>Formsto make sure your assets have deployed correctly: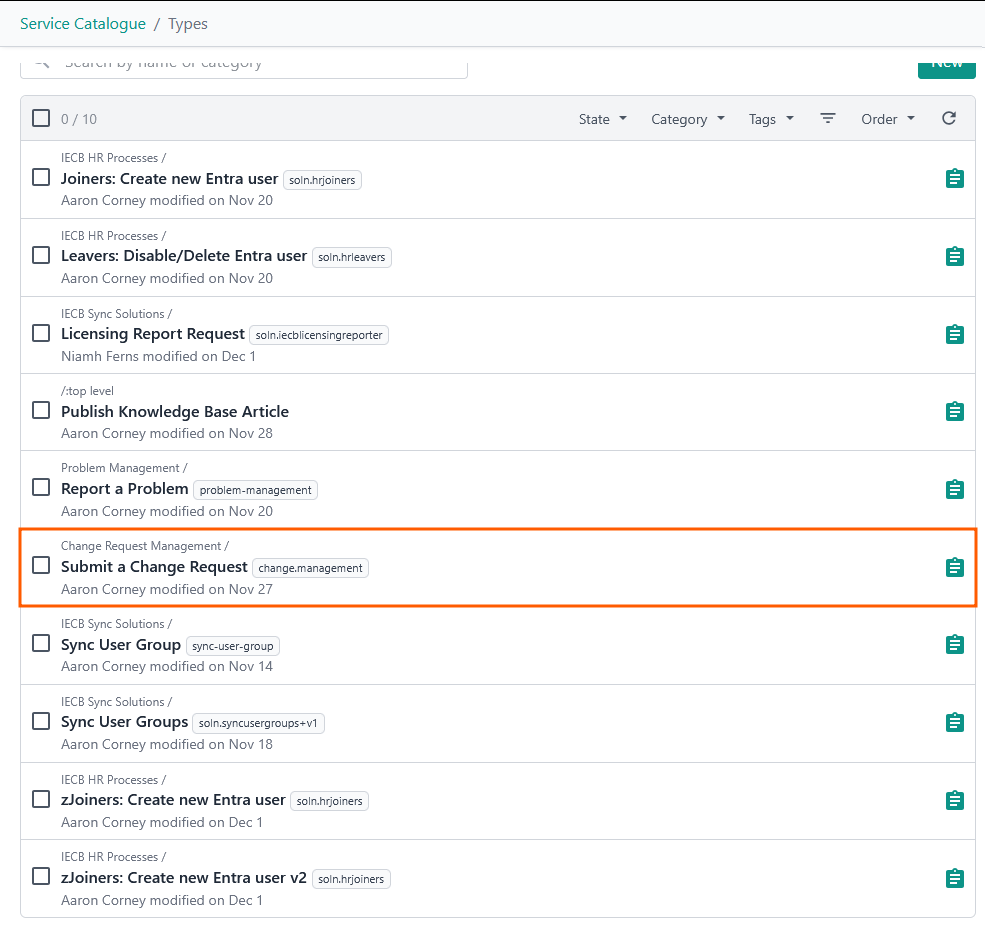
Solution Marketplace Deployment
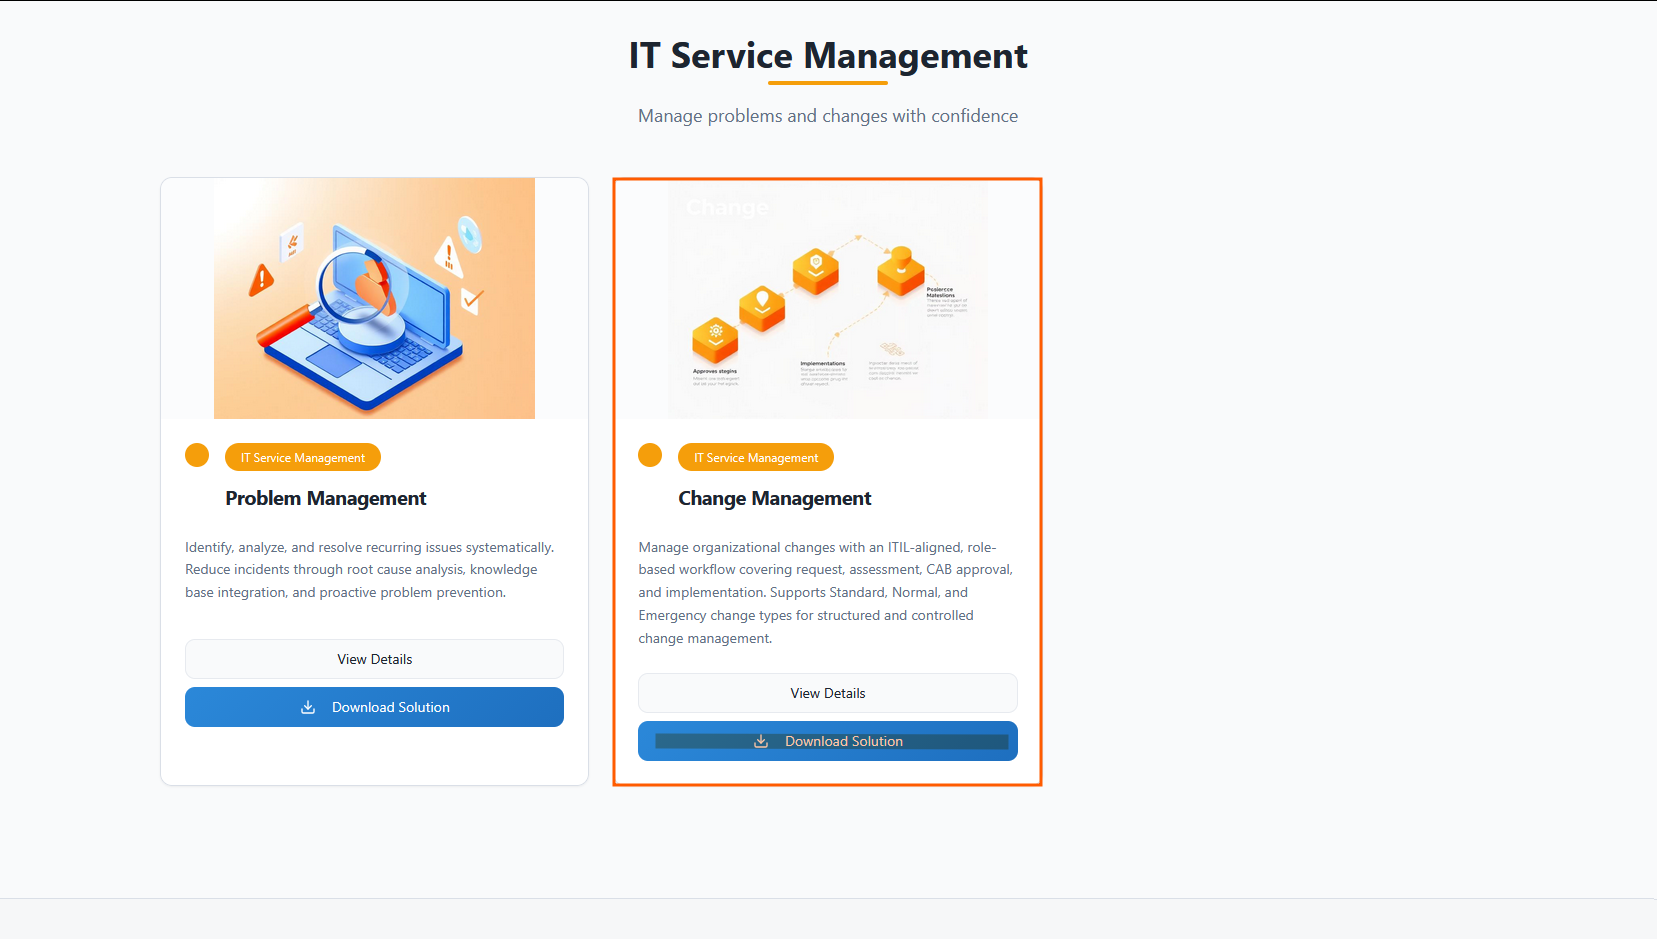
- Head to the PowerPlay Marketplace and select Download Solution for the Change Management solution:
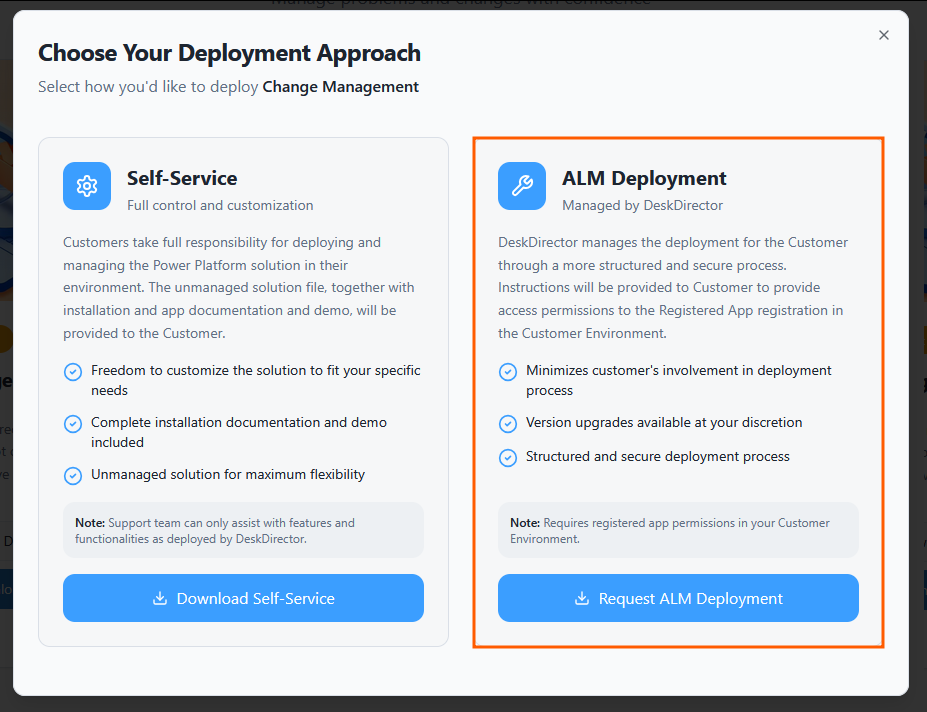
- Select Request ALM Deployment:
- Navigate to your open tickets on the DD4DD Support Portal, and you should see a ticket with a name similar to
PowerPlay App Deployment Request: Change Management: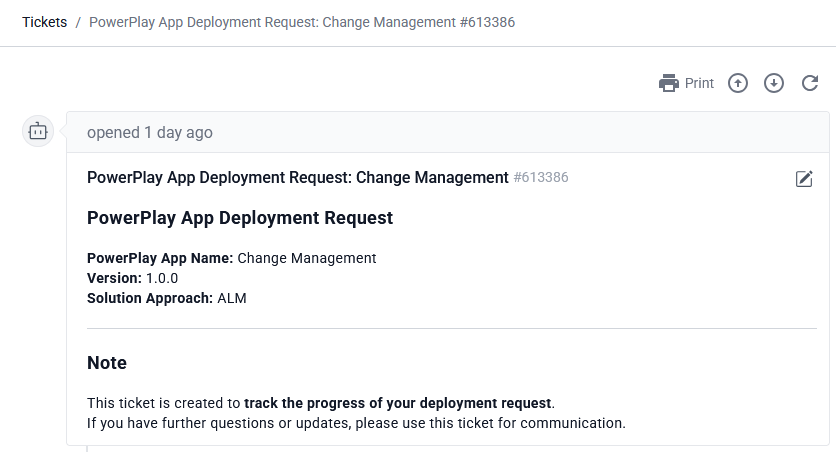
- Open the ticket and scroll down to the automated system comment. You should see that it has started the deployment for you:
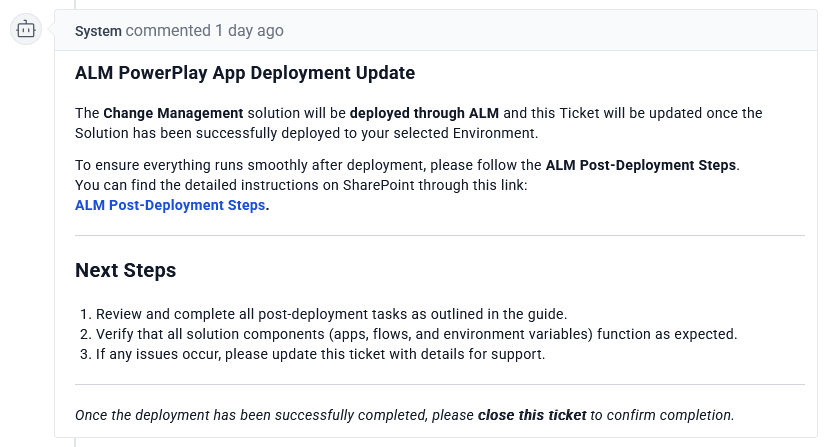
- Once the deployment is finished, you will see an update on the ticket reporting that the deployment was successful
- To confirm, open Power Apps and navigate to the Solutions tab. Under managed, you should see a successful deployment for Change Management.
Post-Deployment
SharePoint Site Creation
- Navigate to your Active Sites in SharePoint under your tenant
- Click Create and Select a Team site, then use the standard template and fill out the Site's information:
- Name:
Change Management - Group email address:
ChangeManagement - Group owner: Admin for your tenant
- Privacy settings:
Private - only members can access this site
- Name:
- Add any members that should have access, and create the site as well as your service account
- In your SharePoint site, under Site contents, create a new blank list
- Name your list
Change Management Notes and Documentsand click Create - Rename the default title column to
Change Request ID,and create a new column with the nameNotesset to the Multiple lines of text type with rich text enabled. - Under the column settings, ensure that the Attachments column is enabled
Connection References & Environment Variables
When you set your environment variables, please instead add a custom value and do not edit the default.
- If you don't already have one, create a SharePoint Connection in the Connections tab for your ServOrg environment
- Under your ServOrg environment, navigate to the Default Solution and open the Connection references tab in the Objects panel
- Search for
CMand then update the following connection references:These will all reference the connections you configured in your ServOrg post-deployment.- CM - Dataverse
- CM - DD Custom Connector
- CM - DeskDirector
- CM - Microsoft Teams
- Now, under the Environment variables tab in the Objects panel, update the following variables:If you are unsure what these variables should be set to, please reference the video above.
- Change Manager - Notes and Documents
- Change Manager SP Site
- CM - Change Management Request Form ID
- CM - Change Request Intake Queue ID
- CM - DD Change Admin ID
- CM - DeskDirector URL
- CM - Implemented Change Request Event ID
- CM - New Status ID
- CM - Priorities
- CM - Queues and Statuses
- CM - Risk Assessment Scores
- CM - Start Review Process Form ID
- CM - Submit a Change Request Service Type ID
Enabling Flows
- Under your ServOrg environment's Managed Solutions, navigate to the Change Management solution and open the Cloud flows tab in the Objects panel
- Enable the CM - [DD Event] - Status Change flow
- Enable the CM - [DD Event] - Start Change Review flow
- Enable the CM - [DD Forms] - Record Change Request Details flow
- Enable the CM - [Powerapps] - Change Manager Updates flow
- Enable the CM - [Powerapps] - Get DD Agents flow
- Enable the CM - [Powerapps] - Schedule CAB Change Request Discussion flow
- Enable the CM - [Powerapps] - Update Ticket Queue and Status flow
- Enable the Change Management - Cancel Request (Child) and Change Management - Create Ticket Fan-out (Child) flow
- Enable the [Dataverse] Change Management - Create Main Tickets flow
- Lastly, enable the [PowerApps] Change Management - Cancel Request flow
Running Manual Flows
- Navigate back to your Change Management Solution under your ServOrg's Managed Solutions, and then open the Cloud flows tab under the Objects panel
- Perform a manual run of the following flows in order:
- CM [Manual] - Queues and Statuses in DD
- CM [Manual] - Setup Priorities and Risk Score Mappings
- Under the Tables tab in the Objects panel, open the ITSM Config IDs table and copy the ID for the New ↔️ priority
- Under the Environment variables tab in the Objects panel, update the CM - New Status ID variable to the status ID you just copied
- Load back into your ITSM Config IDs table and validate that your priorities show a high, low, and medium priority. You will need to map these to the desired priorities in your Tokity instance. (See the video above if you're unsure how to do this.)
Service Orchestrator App Registration
- Navigate back to your Managed Solutions in your ServOrg and open the Change Management Solution, then open the Apps tab in the object Panel. From here, you can share the Change Management Portal app with the users who will need access
- Under the Details tab, copy the app's weblink and then play the Change Management app
- Load in the Admin Configuration pane and confirm that your board, status, and priority configurations show as expected.
- Back in your ServOrg's Managed Solutions, open the Service-Orchestrator-Library and play the Service Orchestrator app
- Open the Configuration Details and paste your web link into the Change Management Playbook URL field